
A polygel nail kit is an at-home nail extension system that combines the sculpting control of acrylic with the smoother curing process of gel. It usually includes polygel tubes, dual forms, a nail brush, slip solution, base coat, top coat, nail files, and often a UV or LED lamp. For beginners, the appeal is clear: polygel gives more working time than acrylic, feels lighter than traditional extensions, and can create natural-looking length without visiting a salon every few weeks.
This article explains how to use a polygel nail kit at home with cleaner technique, better prep, safer curing, and fewer mistakes. You will learn what each tool does, how to prepare your natural nails, how to apply polygel without flooding the cuticle, and how to fix common problems like lifting, bubbles, thick edges, and uneven shaping.
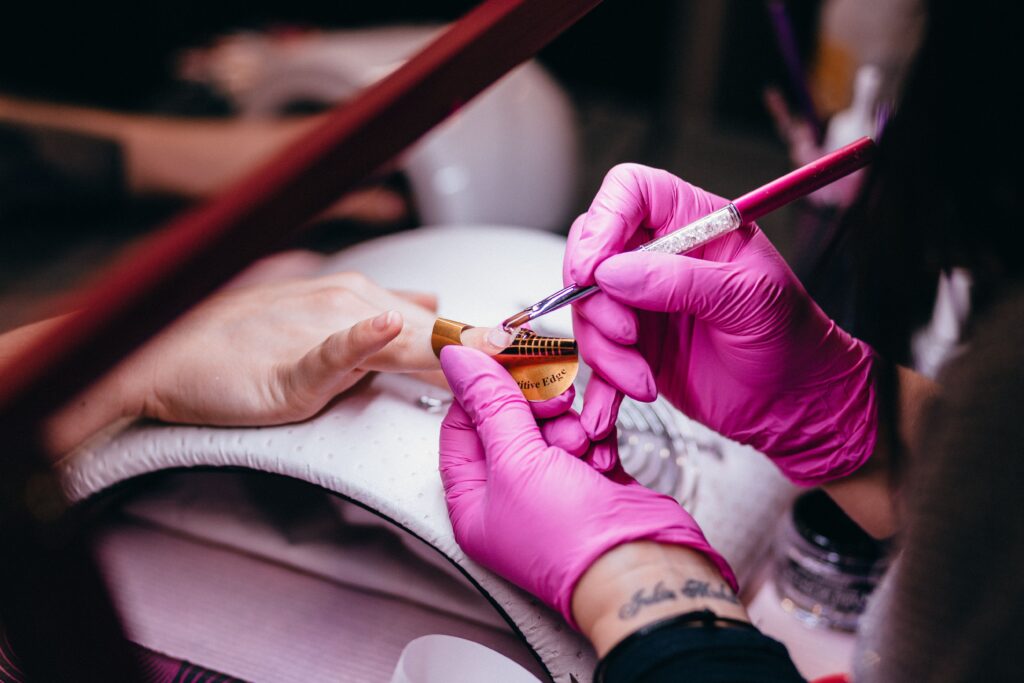
What A Polygel Nail Kit Includes And How Each Tool Works?
Most polygel kits are designed to give you the basics needed for nail extensions in one box. The polygel itself comes in a tube and has a thick, putty-like texture. Unlike acrylic, it does not harden in the air, so you can shape it slowly before curing it under a lamp.
A basic kit usually includes:
| Tool or product | Purpose |
| Polygel tube | Builds length, structure, and shape |
| Dual forms | Helps mold the polygel into an extension |
| Slip solution | Prevents the brush from sticking to the product |
| Base coat | Helps polygel bond to the natural nail |
| Top coat | Seals shine and protects the finished nail |
| Nail file and buffer | Shapes the free edge and smooths the surface |
| UV or LED lamp | Cures the polygel until hardened |
First-time users usually get better results with best for beginners polygel nail kit because beginner-friendly kits tend to include clearer tools, manageable formulas, and forms that are easier to control during application. A kit that looks impressive but lacks a reliable lamp, workable forms, or a decent brush can make the process frustrating even when your technique is improving.
How To Prep Natural Nails Before Applying Polygel?
Nail prep is the step that decides whether polygel stays smooth for days or starts lifting within hours. Before applying anything, wash and dry your hands, then gently push back the cuticles. Remove any dead skin from the nail plate because polygel does not bond well over cuticle tissue, oil, or moisture.
Lightly buff the natural nail to remove shine, but avoid thinning the nail. The goal is not to scrape the surface aggressively. It is only to create a slightly textured base so the product can grip better. After buffing, remove dust with a lint-free wipe and use a nail dehydrator or alcohol wipe if available.
Good prep makes application easier, but how to choose polygel nail kit also matters because weak lamps, poor-quality base coats, and stiff dual forms can reduce wear time even when the natural nail is prepared correctly. For at-home use, look for a kit that supports proper bonding rather than only focusing on color variety.
Step-By-Step Polygel Application For Beginners
Start by sizing the dual forms for each nail. The form should fit sidewall to sidewall without squeezing the nail. If it is too small, the product may overflow or create pressure. If it is too large, the extension may look bulky around the edges.
Apply a thin layer of base coat and cure it according to the kit’s instructions. Then squeeze a small bead of polygel into the dual form. Beginners often use too much product, which creates thick, uneven nails that are harder to cure and shape. A smaller amount is easier to control, and you can always add more later.
Dip the brush lightly into slip solution, then pat and guide the polygel inside the form. Focus on making the cuticle area thin and the center slightly stronger. Press the form onto the nail gently, keeping the pressure even. Remove any product that squeezes out near the cuticle or sidewalls before curing.
A smoother application often depends on key features of polygel nail kit, especially the strength of the curing lamp, the flexibility of the dual forms, the texture of the polygel, and the quality of the brush. These details affect how easily the product moves, levels, cures, and holds its shape.
After curing, gently pop off the dual form. File the free edge, refine the sides, and smooth the surface if needed. Finish with top coat and cure again. The finished nail should feel firm but not painfully tight, overly thick, or heavy.
Common Beginner Mistakes That Affect Polygel Results
Many early polygel problems come from using too much product. Thick nails may look strong, but they can cure unevenly and lift faster. The cuticle area should be thin and neat, while the stress area can have slightly more structure.
Another common mistake is flooding the cuticle. When polygel touches the skin, it creates a weak edge that can lift as the nail grows. Always clean the perimeter before curing. Once cured, product stuck to the skin is harder to fix cleanly.
Under-curing is also a major issue. If the nail feels soft, rubbery, or warm after curing, the layer may be too thick or the lamp may not be strong enough. Follow the curing time recommended by the kit, and cure the underside if needed for long extensions.
Lifting, bubbling, and uneven curing are common early issues, which is why common problems of polygel nail kit and their solutions is useful for understanding whether the problem came from prep, product amount, lamp strength, or application pressure.
Avoid these beginner mistakes:
- Applying polygel over oily or dusty nails
- Using too much slip solution, which can weaken control
- Pressing dual forms too hard
- Leaving product on the cuticle or skin
- Filing the natural nail too aggressively
- Skipping base coat or top coat
- Removing polygel by force instead of soaking or filing safely
Small improvements in technique usually make a noticeable difference after just a few applications.
How To Make Polygel Nails Last Longer At Home?
Polygel nails last longer when the product is applied thinly near the cuticle, properly cured, and sealed well at the free edge. After finishing the nails, avoid soaking them in water for long periods during the first few hours. Frequent water exposure, harsh cleaning products, and using nails as tools can shorten wear time.
Daily care also matters. Apply cuticle oil to keep the surrounding skin flexible, but avoid heavy oil directly before application. Wear gloves when cleaning, and do not pick at lifted edges. If a small lift appears, forcing it off can damage the natural nail underneath.
Longer wear often comes from better prep and maintenance, but add-ons, accessories, or enhancements for polygel nail kit can also improve shaping, sealing, and safe removal. Items such as a better nail dehydrator, finer files, clean-up brushes, lint-free wipes, cuticle oil, and quality removal clips can make the whole process safer and more consistent.
Safe Removal Without Damaging Natural Nails
Removal is where many people accidentally damage their nails. Polygel should not be peeled, snapped, or pulled off. If the product is not soak-off, carefully file down most of the enhancement, leaving a thin protective layer instead of reaching the natural nail too aggressively.
If the product is soak-off, gently file the top coat first, then use acetone wraps or removal clips. Give the product time to soften. Rushing removal can tear layers from the natural nail, leaving it thin, weak, and sensitive.
After removal, moisturize the nails and cuticles. If your nails feel tender, take a break before applying another full set. Healthy natural nails give the best foundation for long-lasting polygel.
FAQs
Is Polygel Good For Beginners?
Yes, polygel can be good for beginners because it does not harden until cured under a lamp. This gives more time to shape, correct, and smooth the product before setting it permanently.
Why Do My Polygel Nails Keep Lifting?
Polygel usually lifts because of poor nail prep, oil on the nail plate, product touching the cuticle, under-curing, or applying the product too thick near the base of the nail.
Can I Use Polygel Without Dual Forms?
Yes, polygel can be sculpted with nail forms or applied as an overlay on natural nails. Dual forms are easier for many beginners, but they are not the only application method.
How Long Should Polygel Nails Last?
A well-applied polygel set can often last two to three weeks. Longevity depends on nail prep, curing quality, product thickness, daily habits, and how quickly your natural nails grow.
Is Polygel Damaging To Natural Nails?
Polygel itself is not usually the main cause of damage. Most damage happens from over-filing, poor removal, peeling off lifted product, or applying new sets over weak natural nails.
Final Verdict
Using a polygel nail kit at home becomes much easier when you focus on preparation, thin cuticle placement, proper curing, and safe removal. The best results come from combining patient technique with a kit that includes reliable tools, workable product texture, and a strong enough lamp. For beginners, the goal should be clean structure, comfortable wear, and healthy natural nails rather than rushing to create salon-perfect extensions on the first attempt.